Setup Wordpress on shared hosting
Description
Now we want to setup WordPress manually on shared hosting.
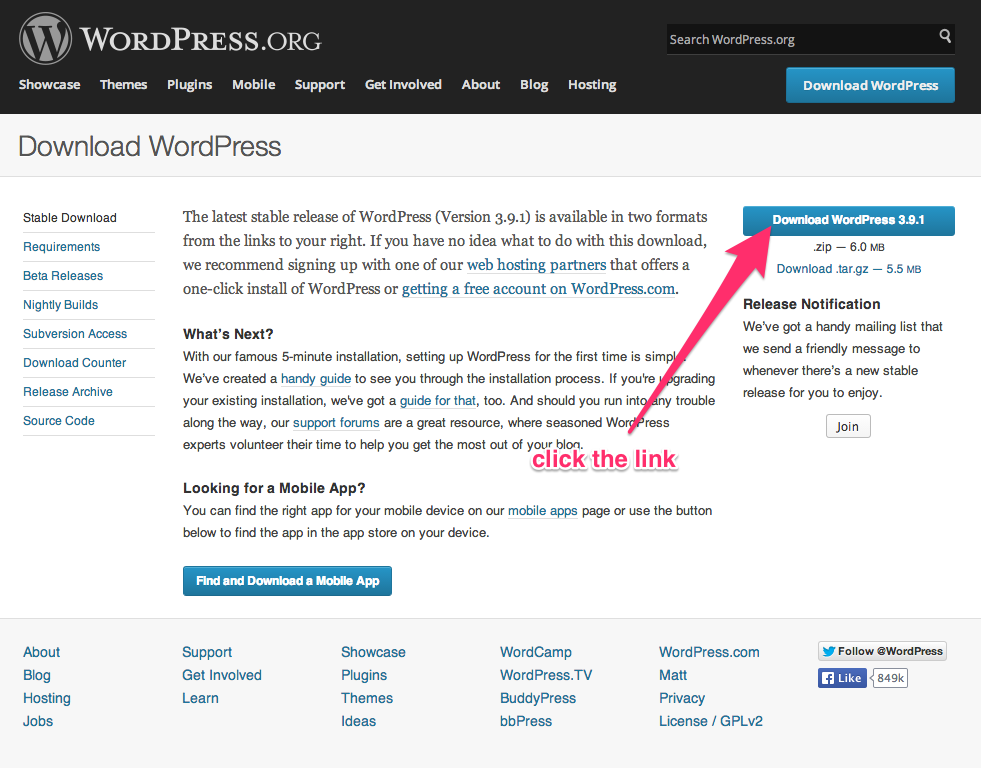
1. Download WordPress
First of all, download the WordPress source files. See the screenshot below
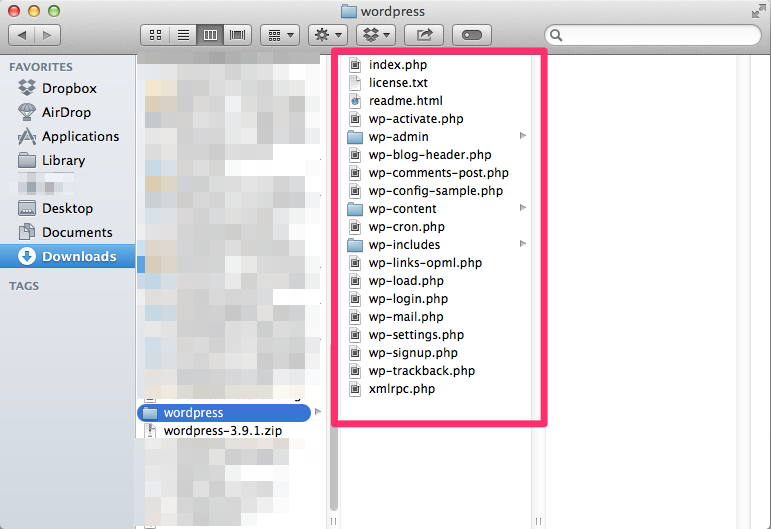
Once completed download, unzip it, and you will see all the source files
2. Access to your hosting server via FTP
FTP is File Transfer Protocol. Means that you need to upload the souce files
to server via FTP.
You will need a FTP client. You can get a free 1, FileZilla is one of the most widely use
FTP client. But in this tutorial I’m using ForkLift.
i. Login
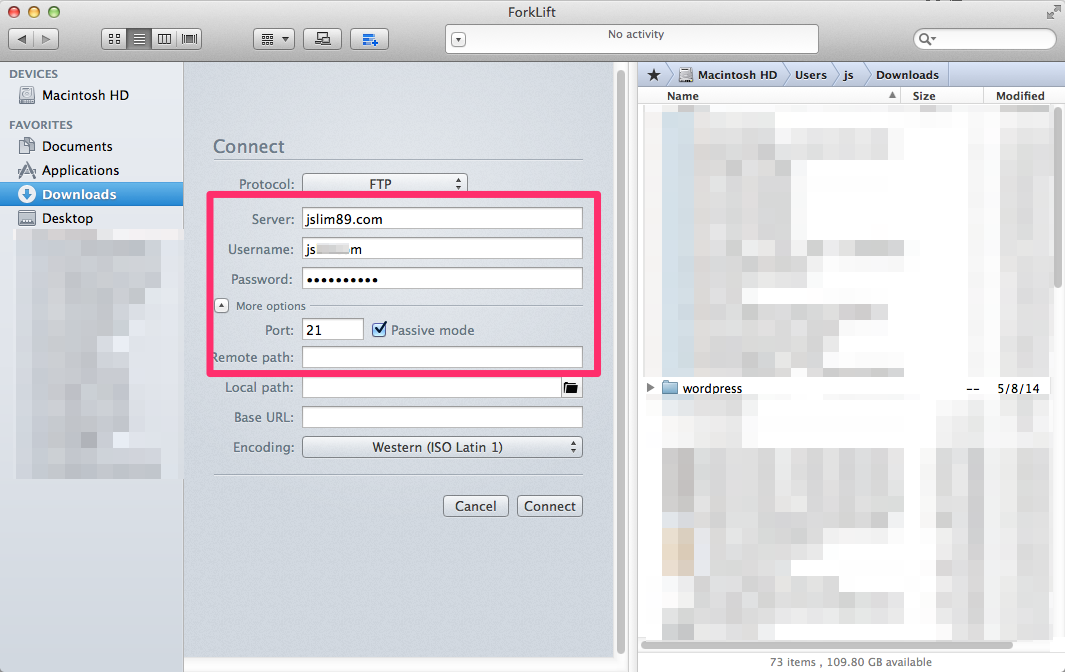
You can see the pink box there, Server typically is your URL (or more precise is domain name). You will have this
Username & Password after you subscribed the hosting plan. The Port just leave it 21.
ii. Copy wordpress to the hosting server
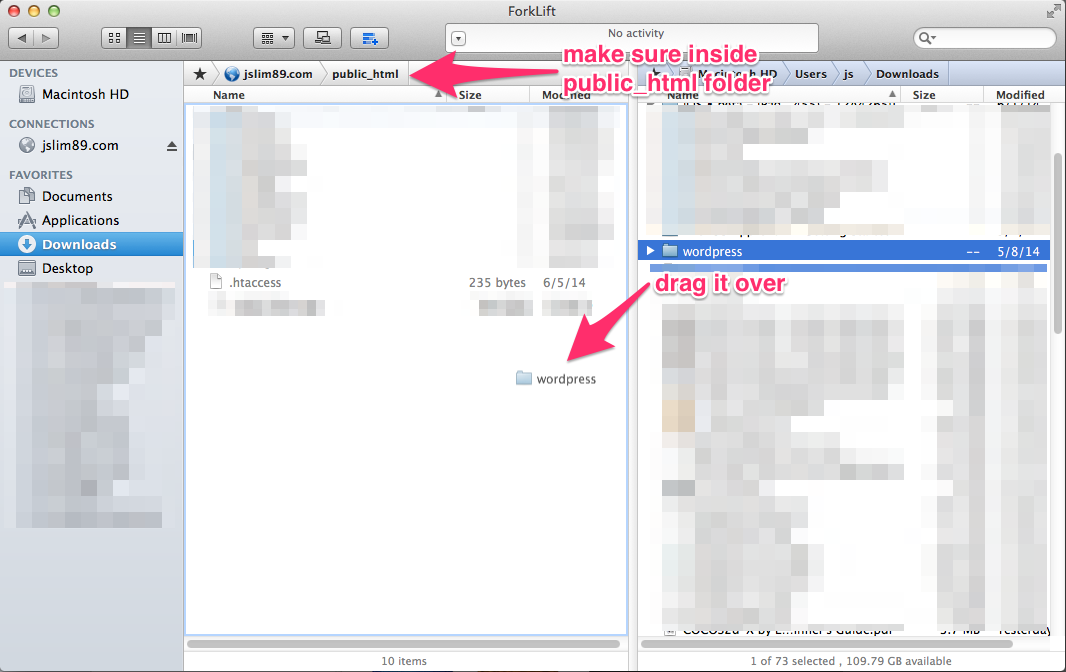
Make sure is inside public_html folder. Then edit the file .htaccess (if you don’t have, create it) with the following content.
1 | <IfModule mod_rewrite.c> |
Remember change it to your domain name (e.g. replace jslim89.com to yourdomain.com). The line 3 & 4 is when user type in the url
www.jslim89.com, it will redirect to jslim89.com (without www)
Now go to your browser, type in your URL…
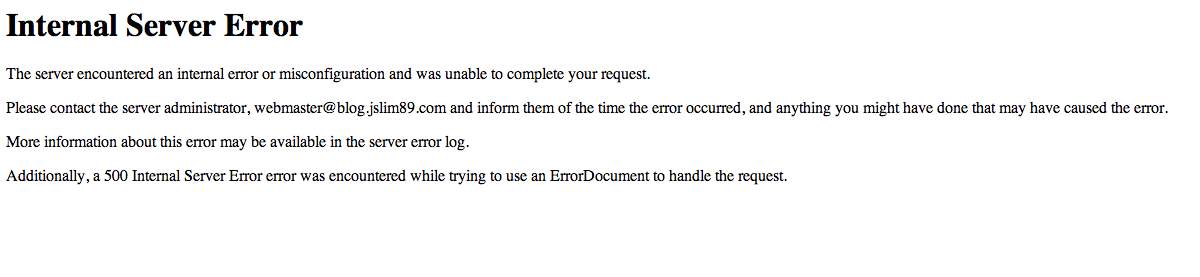
Oopsss!!! What is this? You’re not setup properly.
3. Configure in cPanel or DirectAdmin
cPanel & DirectAdmin are kind of web control panel for your hosting.
I’m showing all these in cPanel.
i. Login to cPanel
You will get the login info after you subscribe the hosting plan.
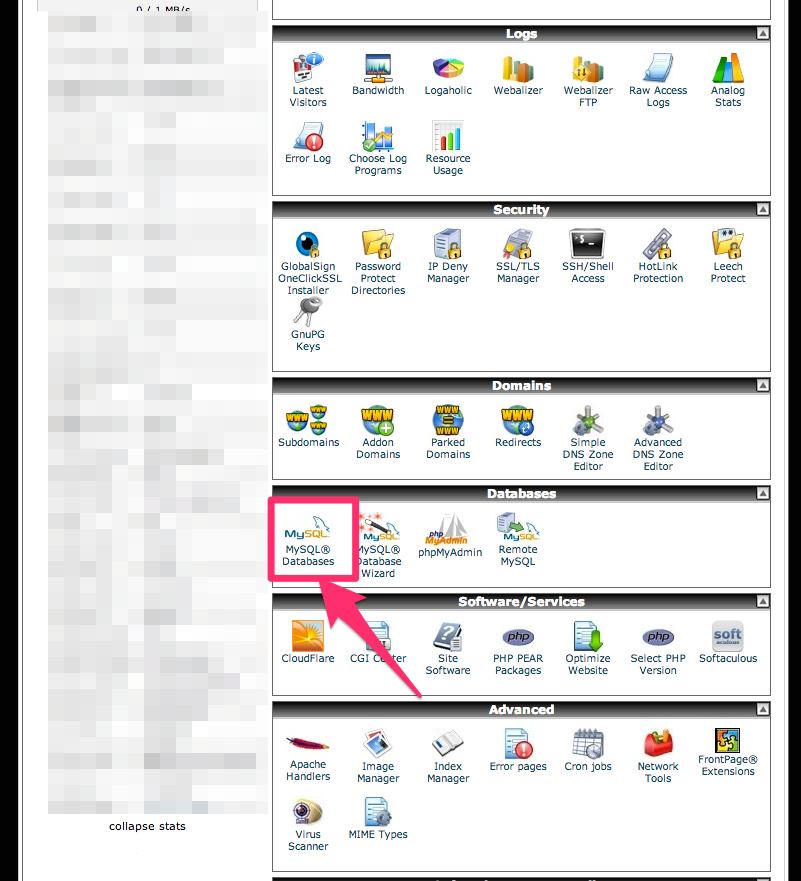
ii. Create a new database for WordPress
First of all, look for this
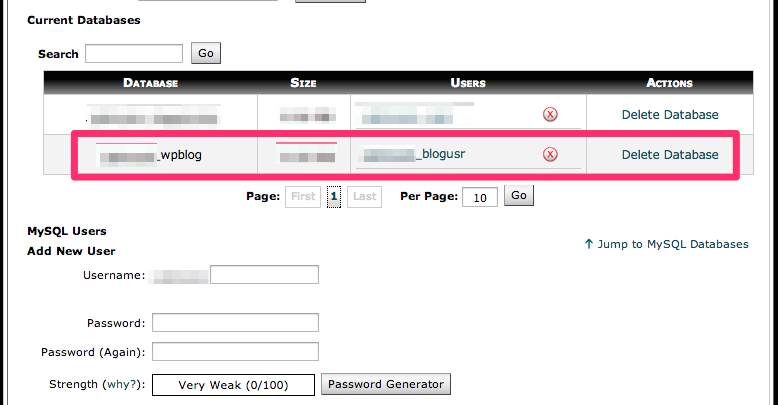
Then create a database (there is a prefix over there, we cannot change it), make sure its name is unique.
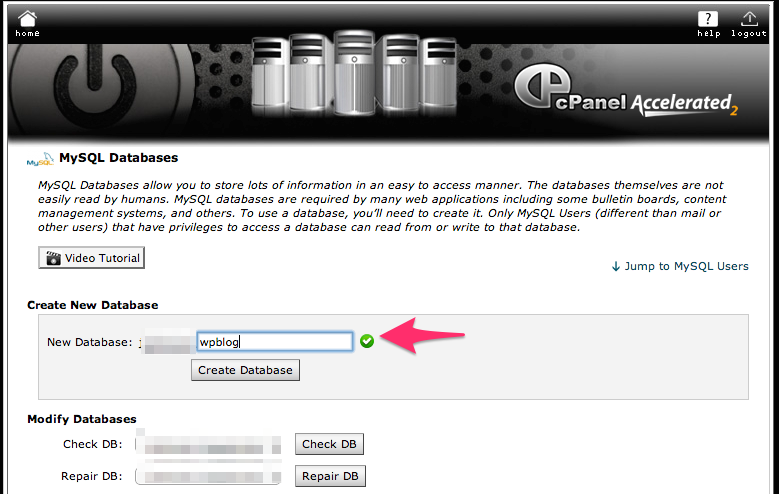
You have to create a database user for this particular database for security purpose, ONE user for ONE database.
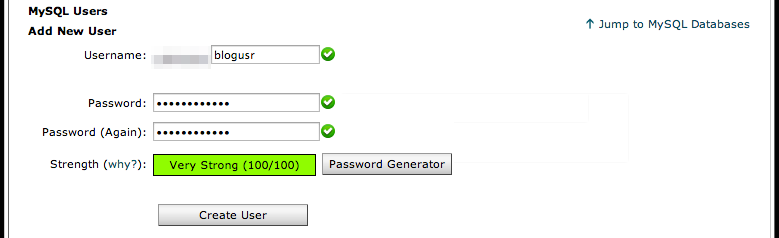
Assign the user for the database you’ve just created.

At the end you will see this
4. Configure WordPress
Go back to FTP client, look for the file named wp-config-sample.php in your wordpress folder. Rename the file to wp-config.php
Edit the file
i. Change database settings

Change the settings to what you set in cPanel.
ii. Auth secret keys
Go to https://api.wordpress.org/secret-key/1.1/salt/, you will get a bunch of “dummy text”
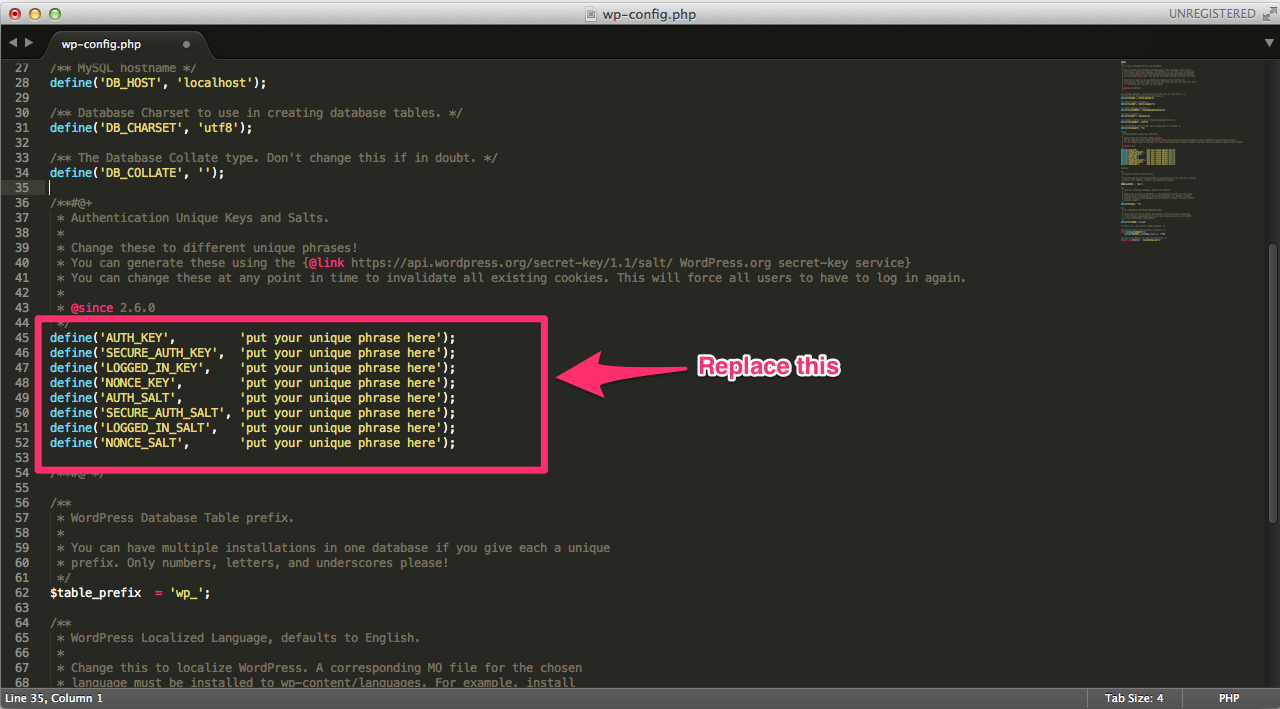
Replace with the text you get from the URL
iii. Add another .htaccess file
Add another .htaccess file with the following content to your wordpress folder.
1 | RewriteEngine On |
5. Setup your site
Now you refresh your browser, you will see a setup page.
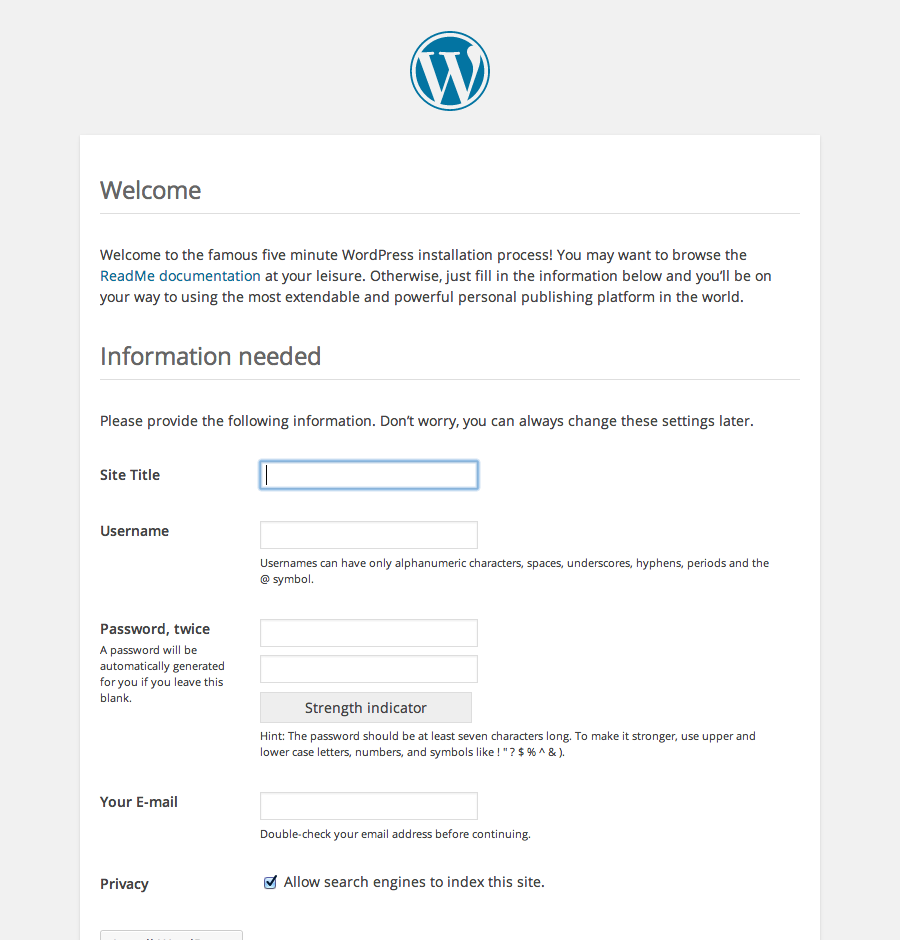
The username name is for you to login and post your blog content, so make sure you remember the username & password well.
Make sure you check Allow search engines to index this site. if you want to have more people reach you.
Now click on Install WordPress button, then login with the username you set just now.
6. Done
You will see the admin panel once successful login.
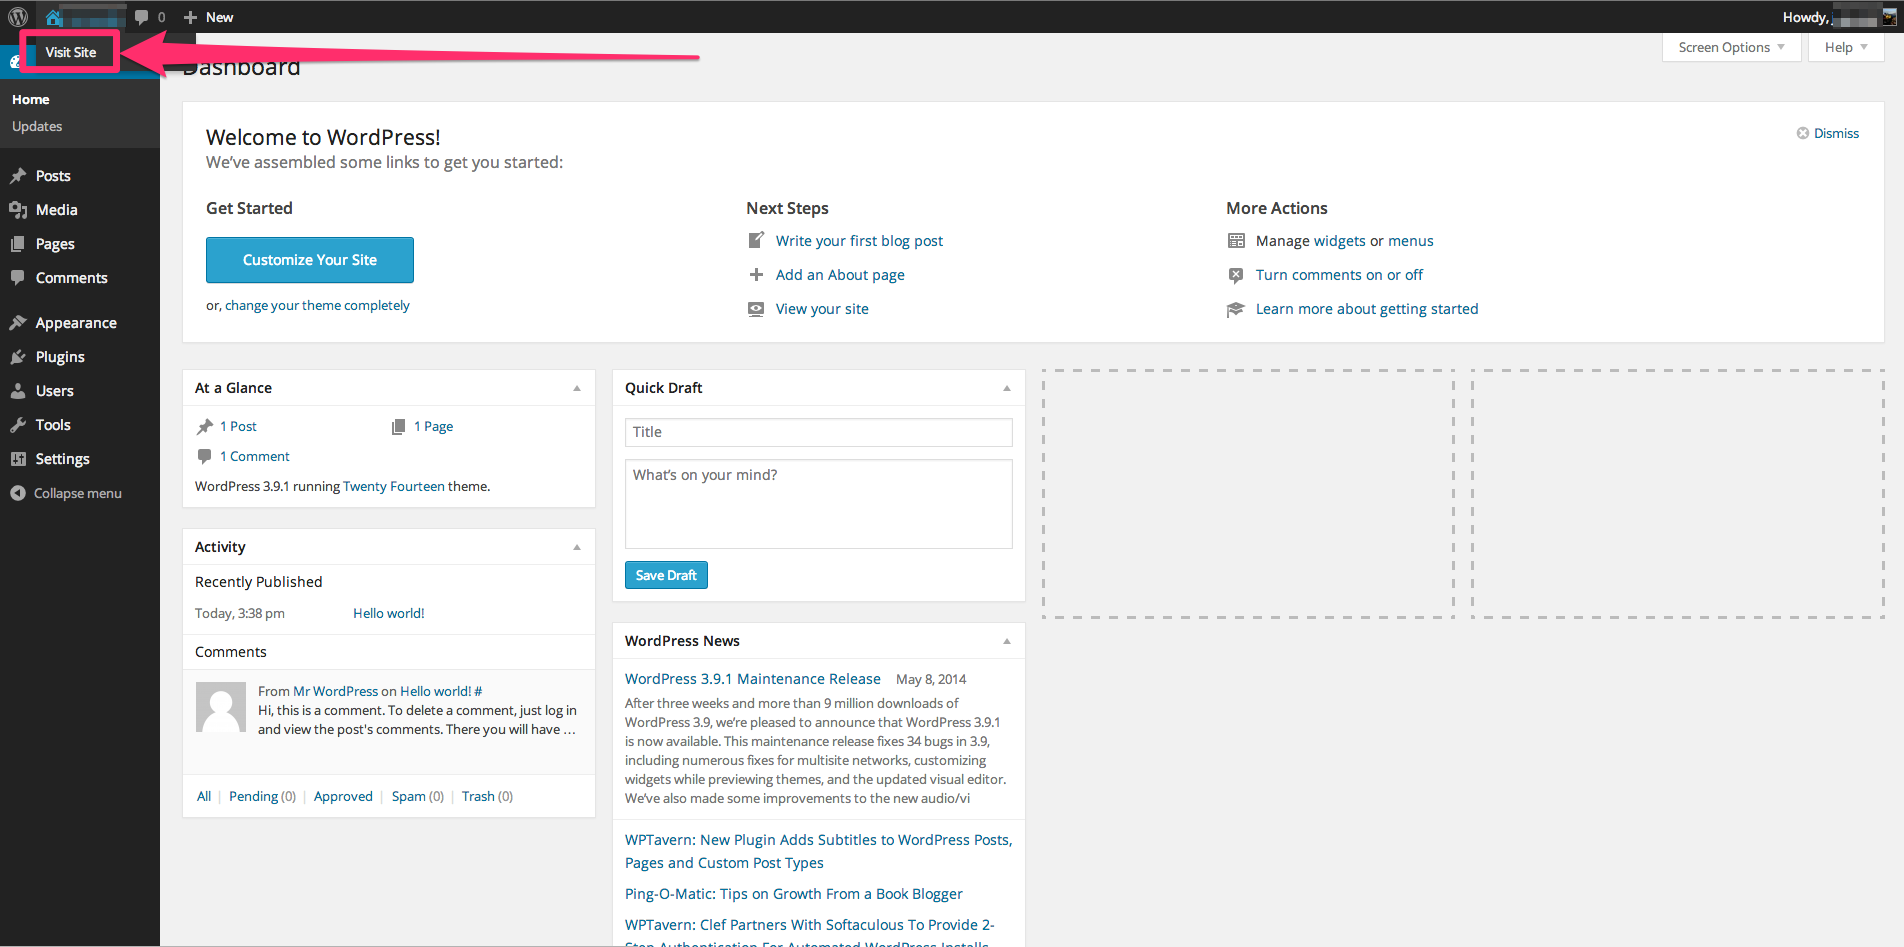
By default, it comes with 1 post Hello World!. So if you want to know what end user see, click on View site button on top left corner.
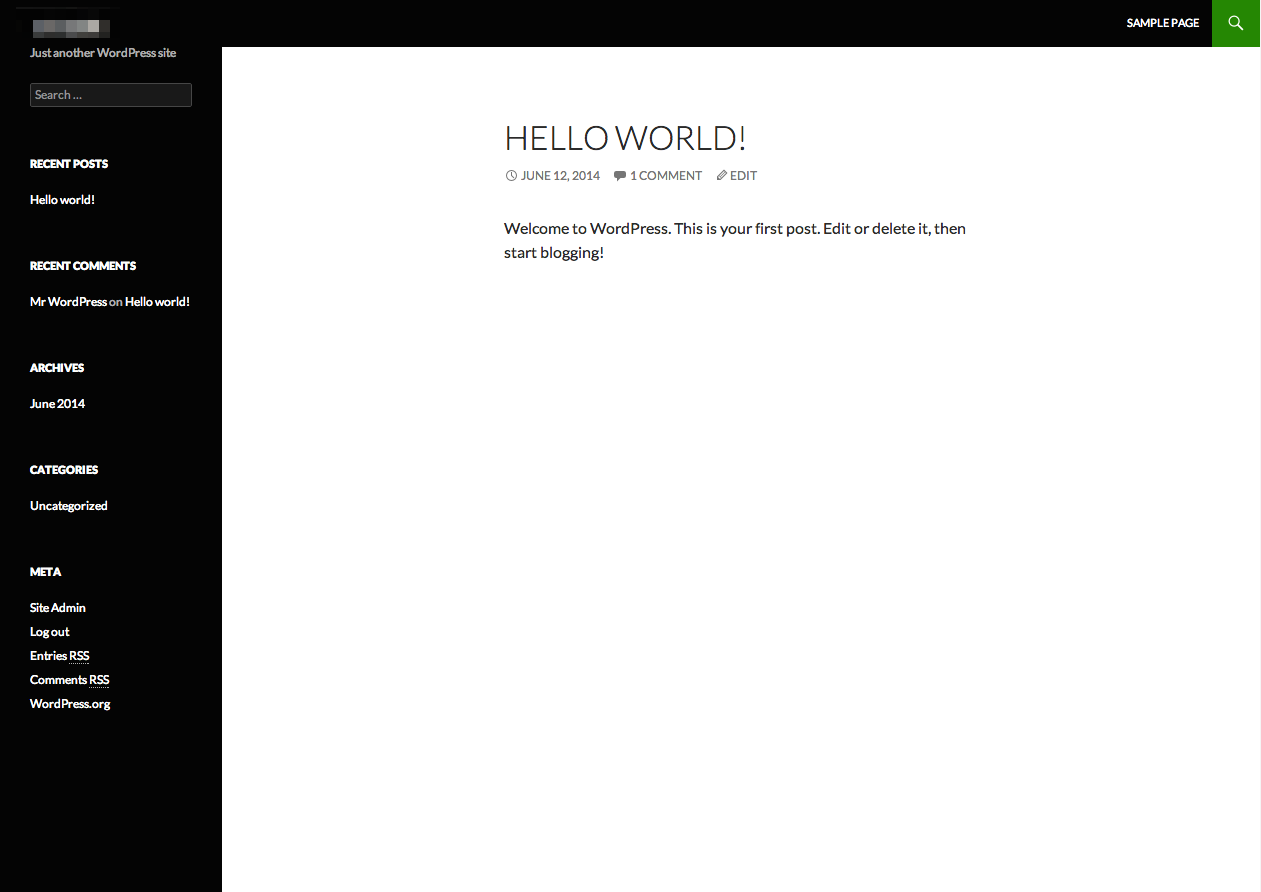
You are done, you can start posting your content now.
References: