Setup PHP environment in Mavericks using XAMPP
I’ve been using MAMP for some time, unfortunately, it seems like outdated (seldom update), now I’ve switched to XAMPP and it is up to date.
To setup a PHP environment in Mac OS X 10.9:
1. Download XAMPP
You can download the latest version here. Then install it.
Bare in mind that by default, MySQL root user has no password, but will set it later
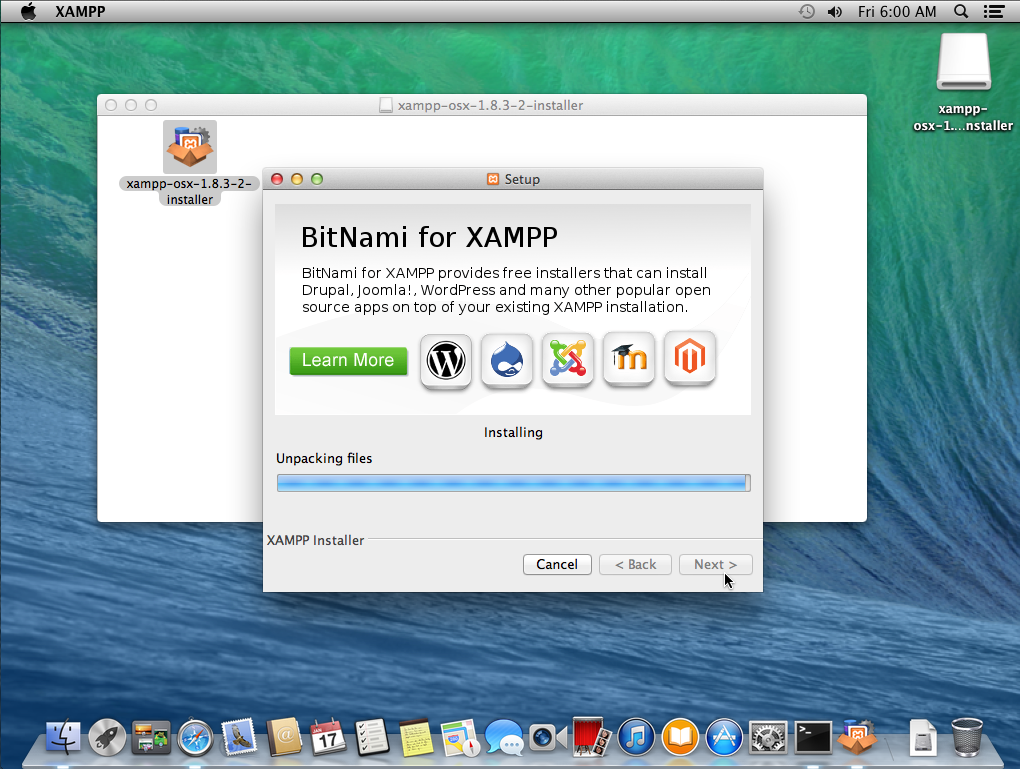
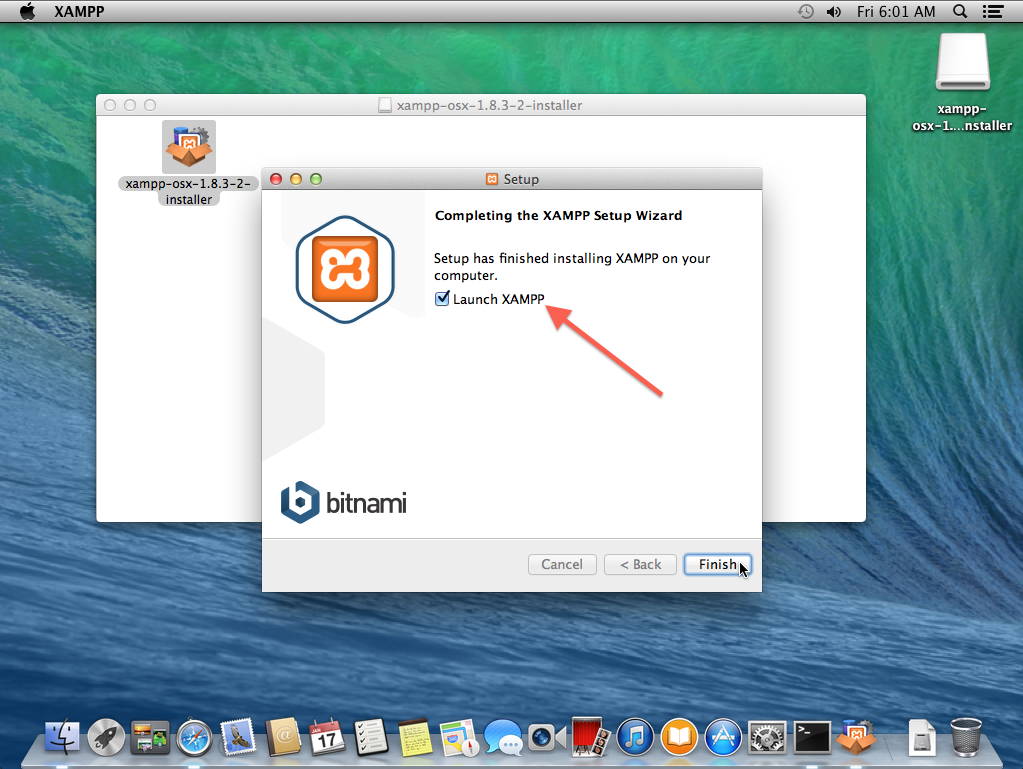
Installation
Once completed, launch it
Start MySQL server
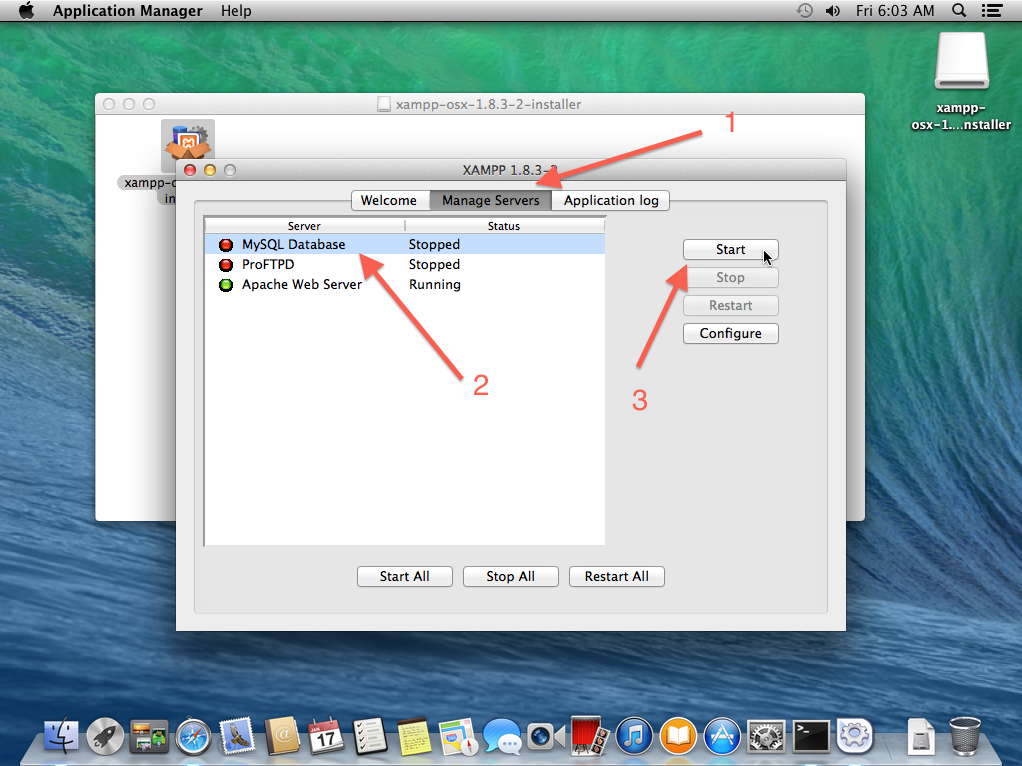
- Select Manage Servers tab
- Select MySQL Database
- Start it
Then close it.
2. Add some PHP projects
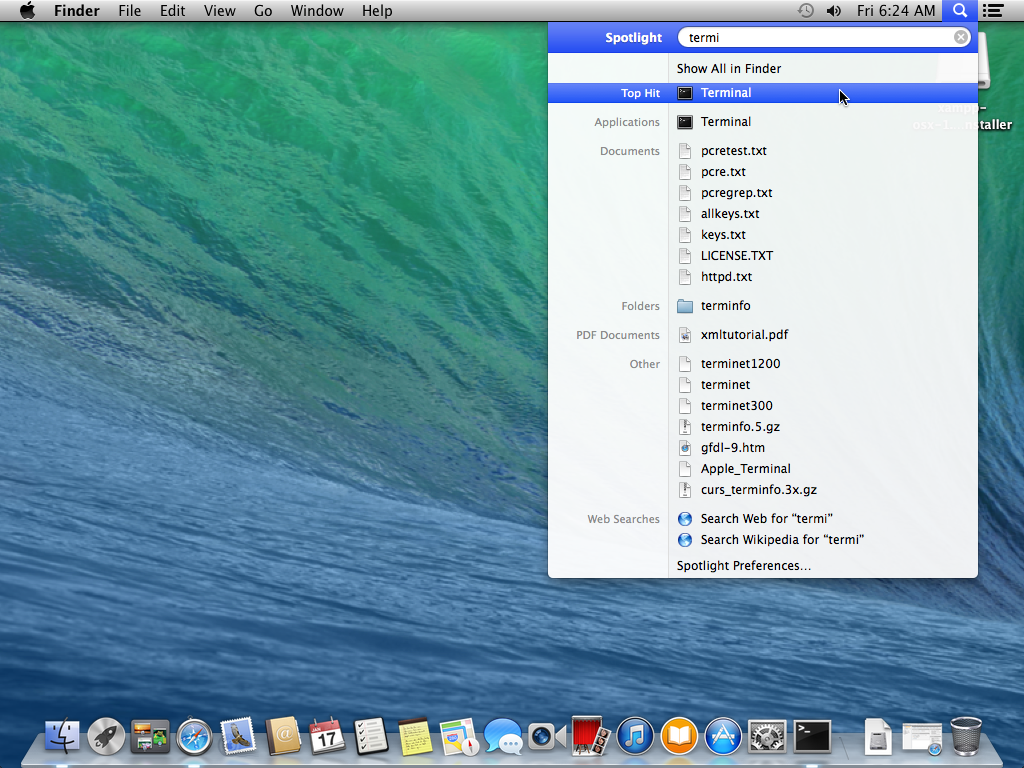
Hit Command ⌘ + Space key, type in terminal then hit Enter key.
Create project A
Create a directory to keep all projects _(e.g. public_html)_
1 | mkdir ~/public_html |
Create a project to that directory
1 | mkdir ~/public_html/project_a |
Create a home page for it
1 | touch ~/public_html/project_a/index.php |
then add the following content
index.php
1 | <!DOCTYPE html> |
Create project B
For testing purpose, just duplicate the project A
1 | cp -r ~/public_html/project_a ~/public_html/project_b |
Edit the file ~/public_html/project_b/index.php
1 | <!DOCTYPE html> |
Done.
3. Setup virtual host
Now we have 2 projects, so we use virtual host (setup different domains) to differentiate them
Navigate to XAMPP directory
1 | cd /Applications/XAMPP/etc/ |
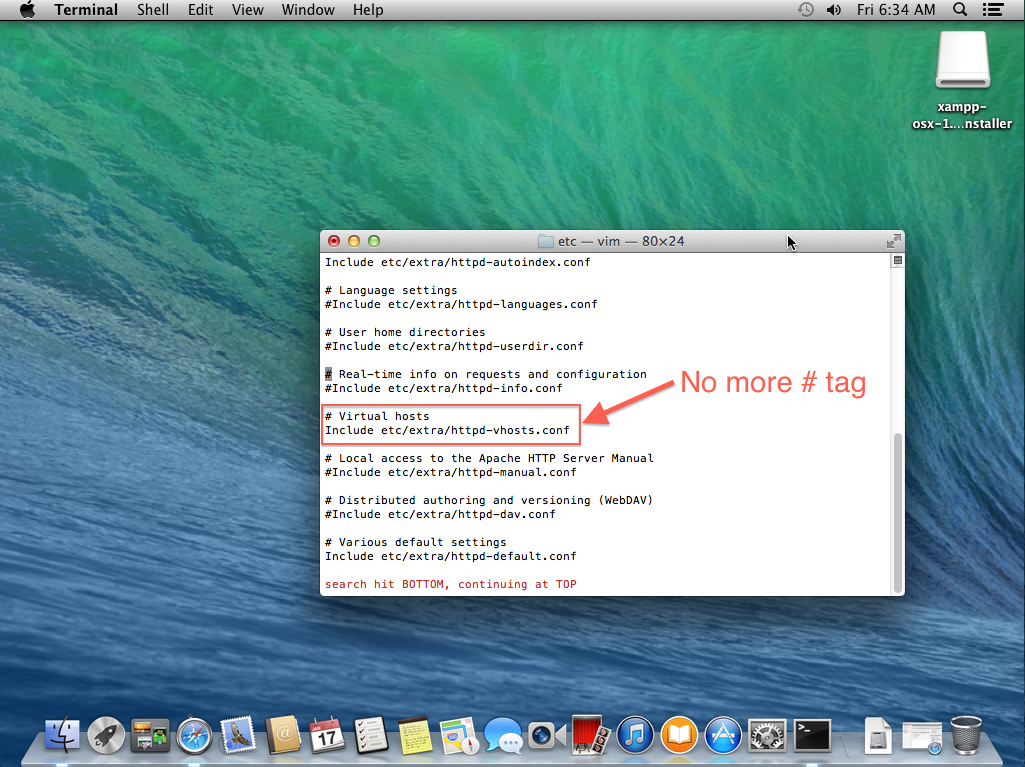
Edit the file named httpd.conf, search for httpd-vhosts, you will see the line
1 | ... |
uncomment the line, i.e.
1 | ... |
Now will look like
Navigate to deeper directory
1 | $ cd extra/ |
Then edit the file named httpd-vhosts.conf, and it already come with this content
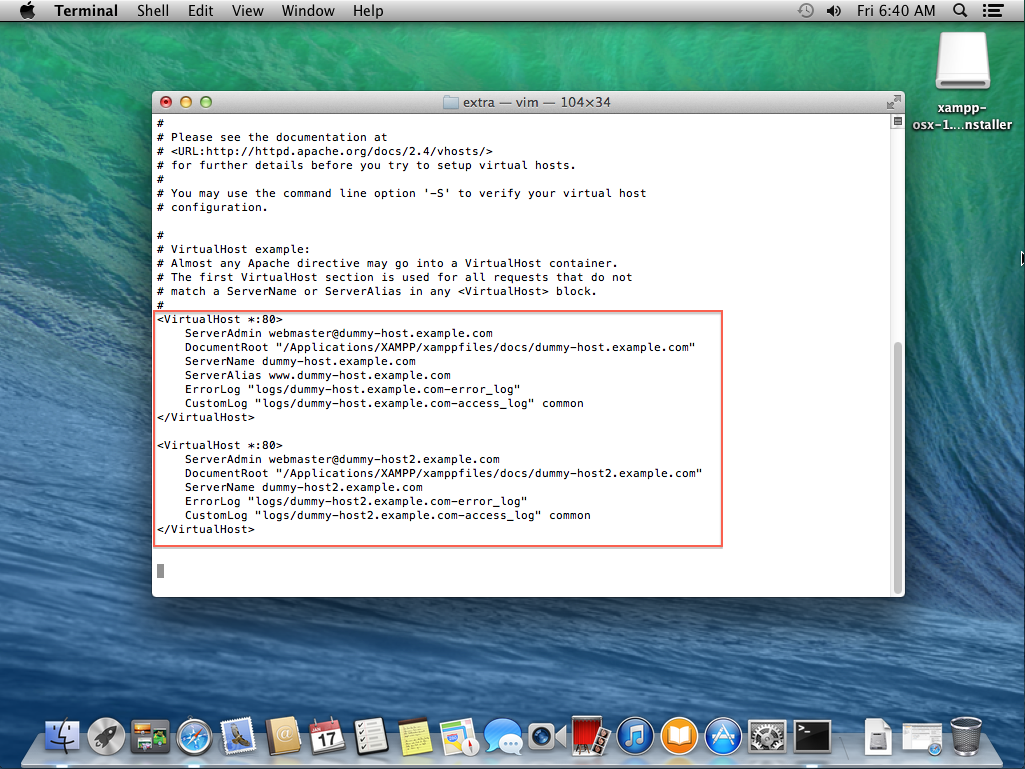
Remove it and change to
1 | <VirtualHost *:80> |
Restart apache server
1 | sudo /Applications/XAMPP/xamppfiles/xampp restart |
Edit the /etc/hosts file
1 | sudo vi /etc/hosts |
Add the following content to bottom
1 | # Virtual hosts |
Save it.
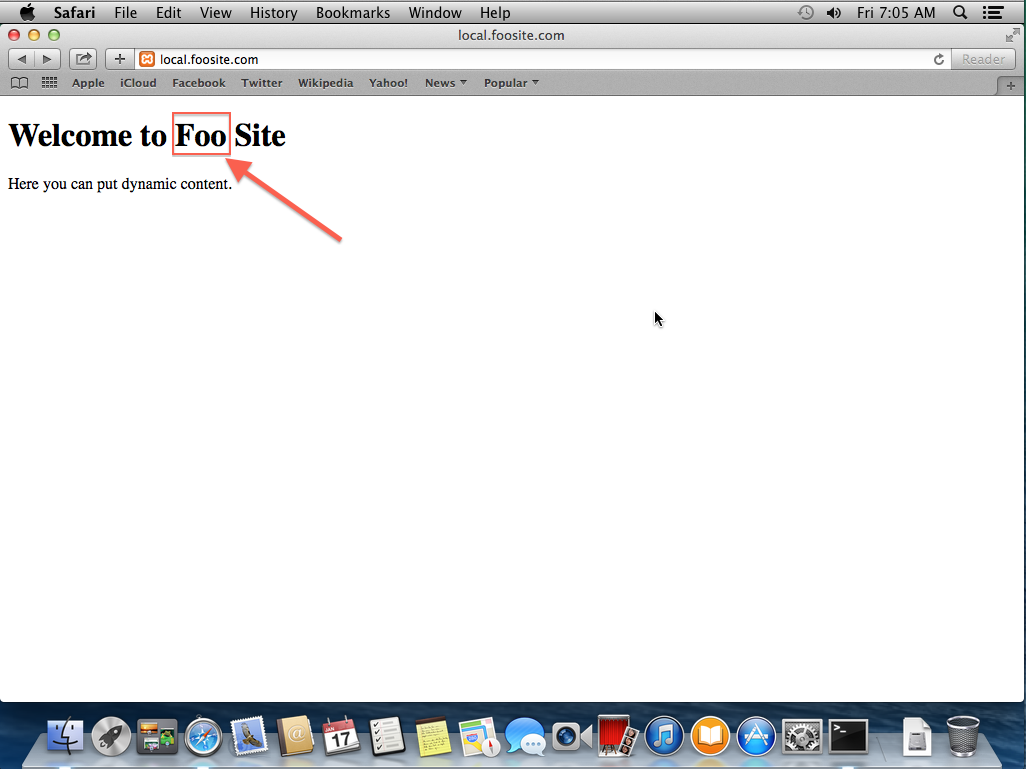
4. Test it in browser
Open your browser (e.g. Safari), type in the URL local.foosite.com, then you will see
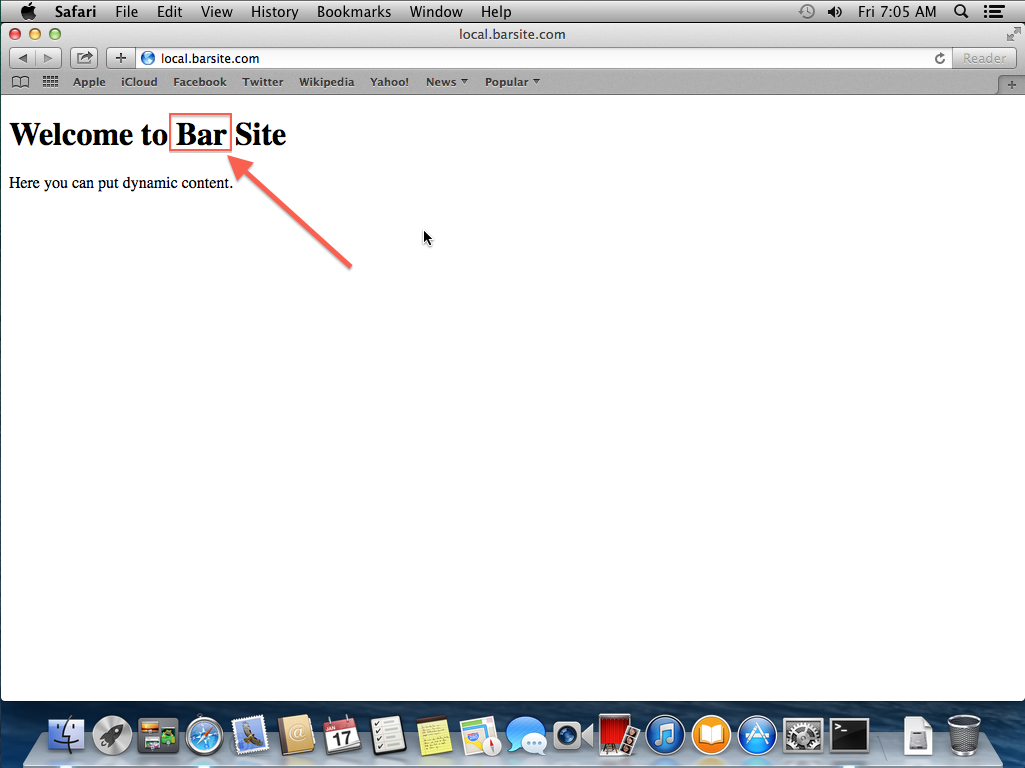
and then change the URL to local.barsite.com, then you will see
5. Add MySQL password for root user
In your browser, type in the URL localhost/phpmyadmin, select a user
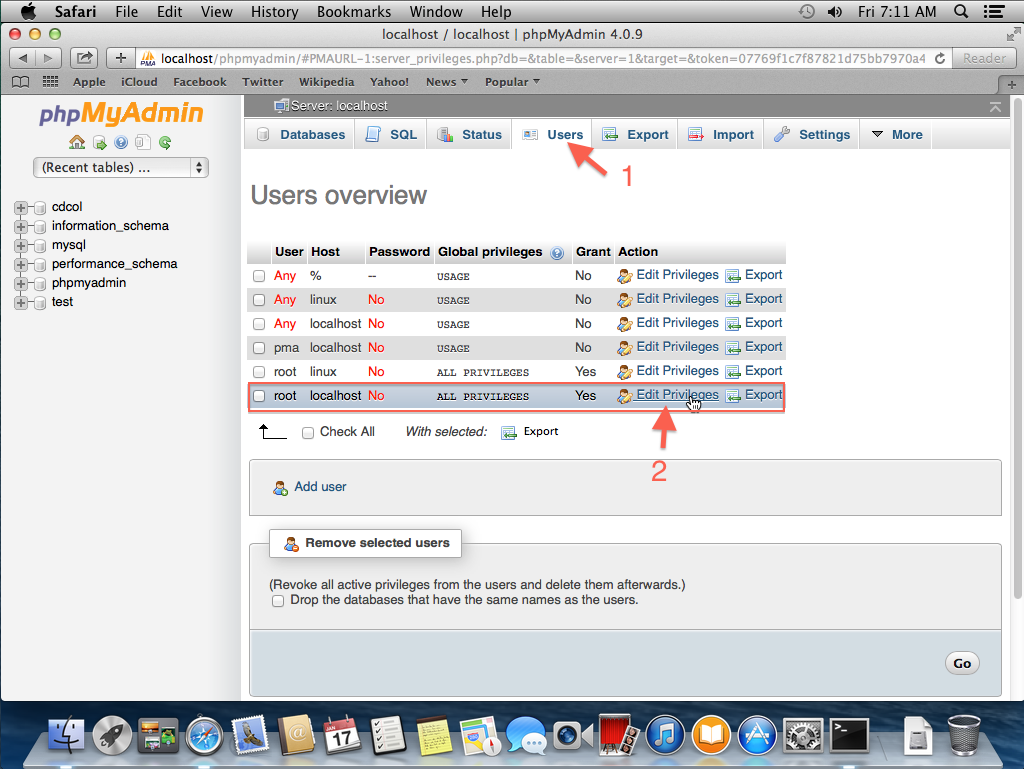
- Select Users tab
- Click on the link
Scroll to Change password section
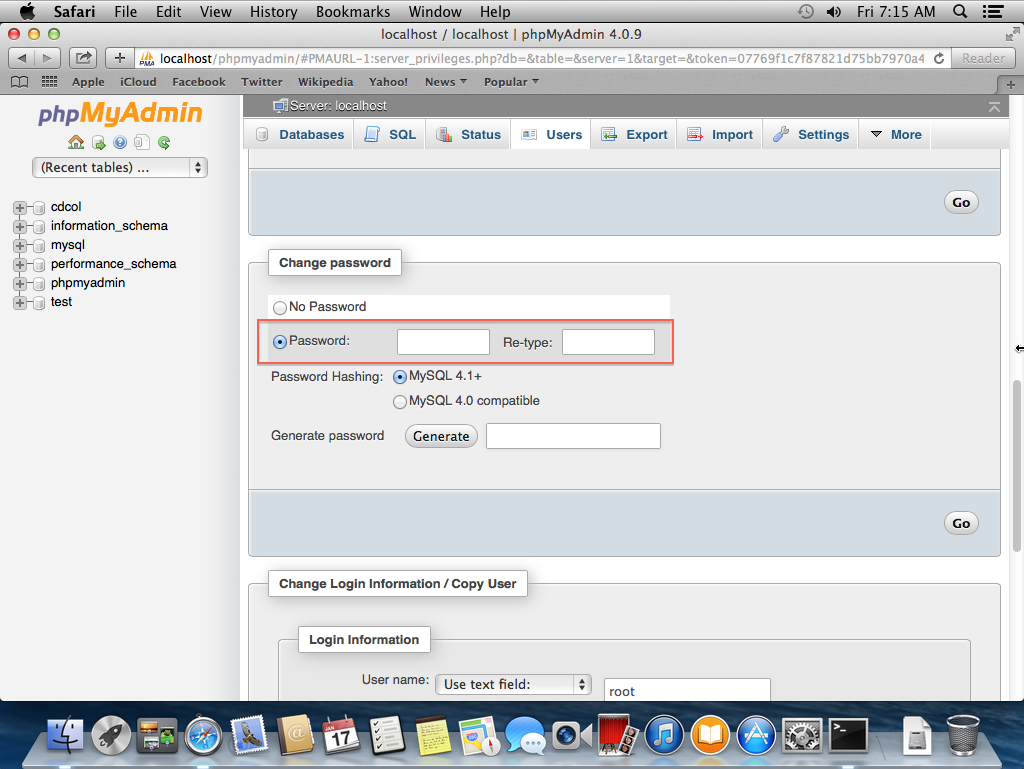
Then type in the password you want (e.g. password).
Once completed, when you simply click on any link above, error appear.
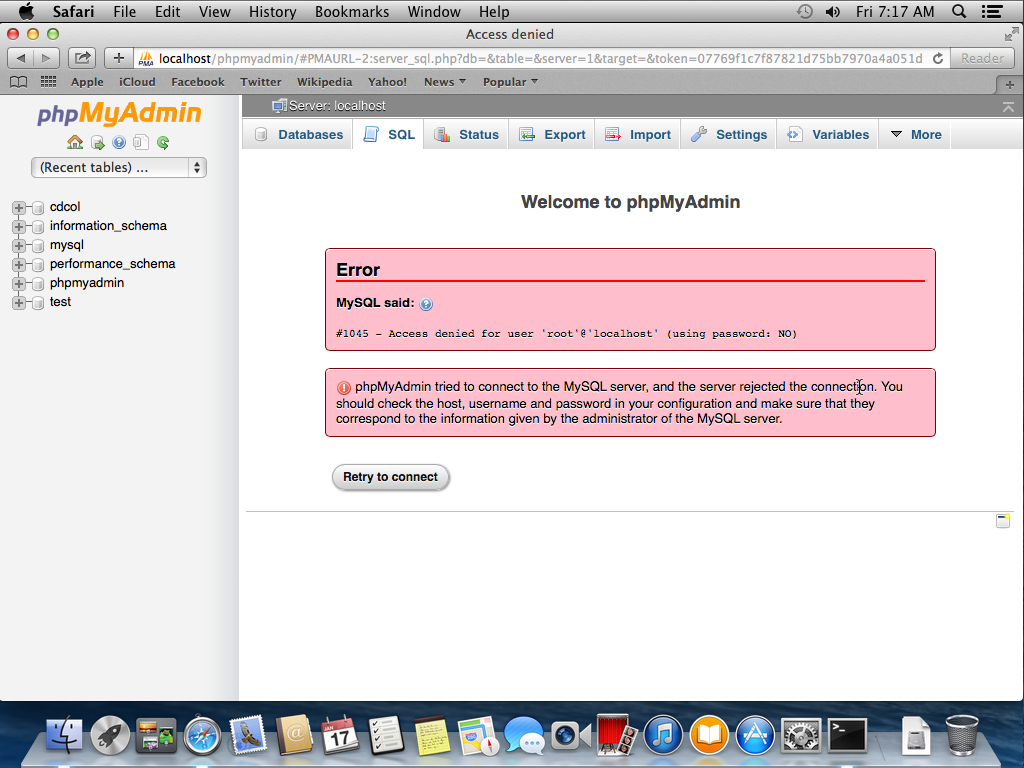
To solve this, just have to edit the file located in /Applications/XAMPP/xamppfiles/phpmyadmin/config.inc.php
1 | sudo vi /Applications/XAMPP/xamppfiles/phpmyadmin/config.inc.php |
Add in the password you just set
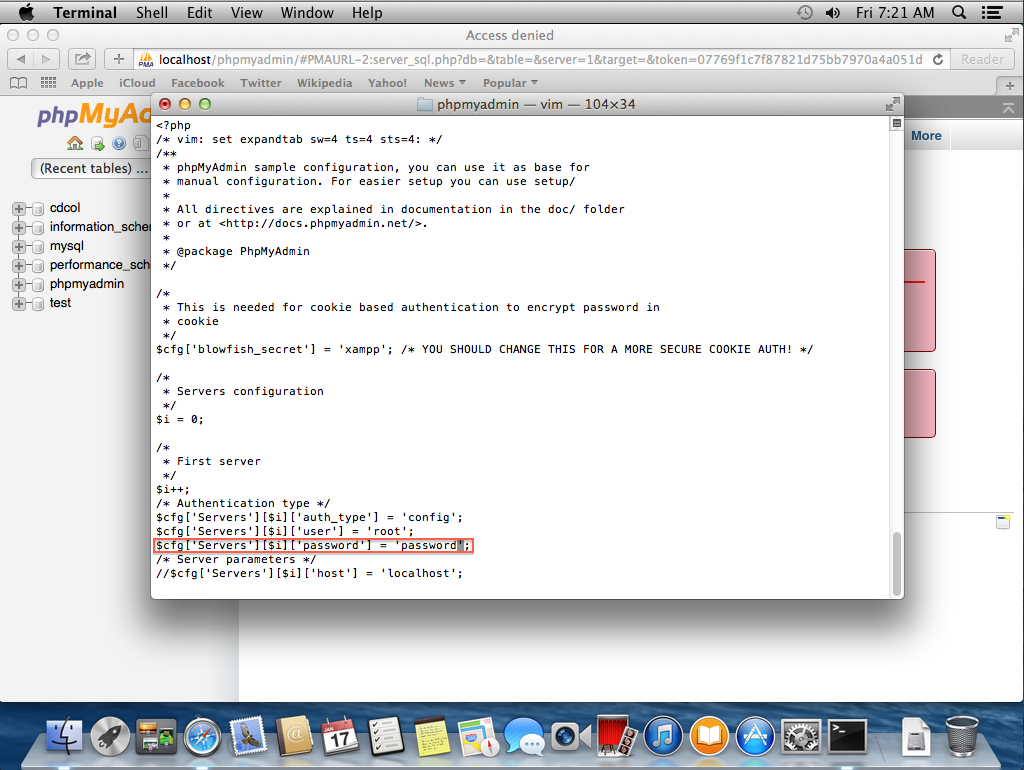
Save it and exit.
In your browser, refresh the phpmyadmin page. It should work now.
6. (Add on) Auto start XAMPP on machine boot up
1 | cd /Library/StartupItems |
Add the content to the files
xampp
1 | sudo vi xampp |
1 |
|
(By default, XAMPP will install in the path above, if yours is different, just modify it.)
StartupParameters.plist
1 | sudo vi StartupParameters.plist |
1 |
|
Change the ownership
1 | cd .. # go back 1 level up (directory) |
Done :)
References: